Steaming milk for a cappuccino means introducing air into cold milk with a pressurized steam wand, then using the same steam to heat and spin the milk until the bubbles break down into a dense, glossy microfoam — the fine-bubbled texture that gives a cappuccino its rounded body and lets it hold a domed shape on top of the espresso. It is a two-phase process: stretching, where air is added, and texturing, where the milk is heated and the foam is refined into something pourable.
The sections below are organized as a troubleshooting checklist rather than a linear lesson, because most beginners run into the same handful of problems in the same first few weeks. Find the symptom that matches what you are seeing or hearing, read the cause, then apply the fix on your next pitcher.
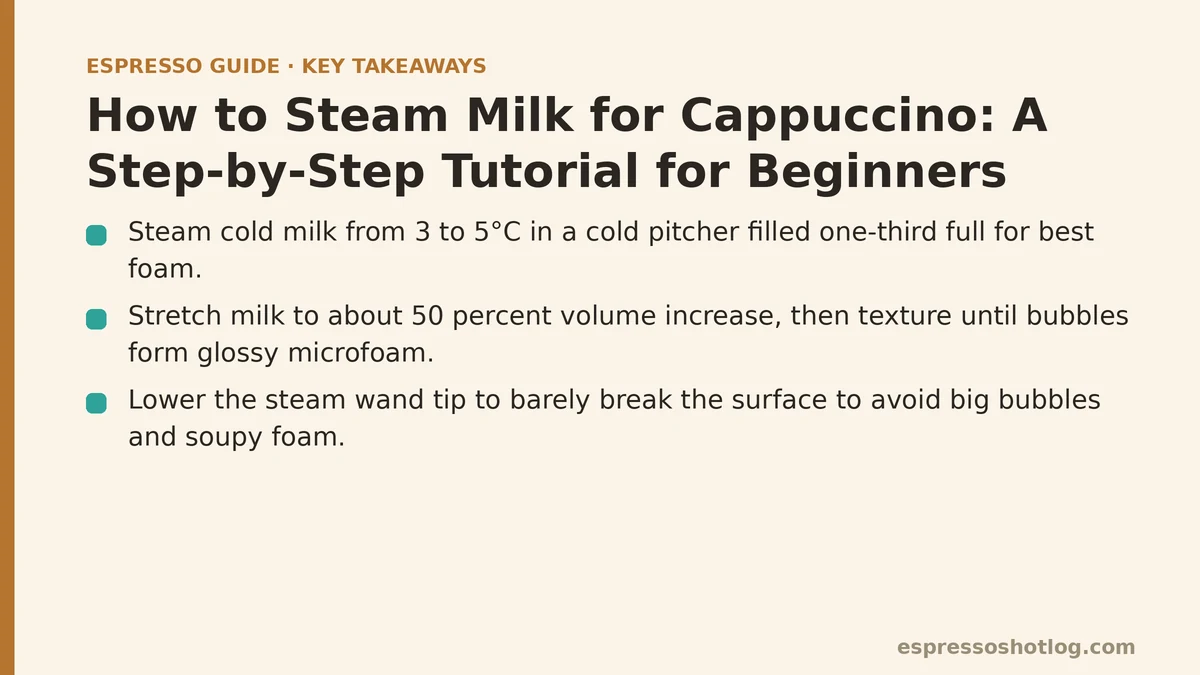
Before You Steam: A Quick Pre-Flight Checklist
Run through this before every pitcher. Skipping steps here produces problems that no amount of technique later can undo.
- Cold milk, straight from the fridge. Milk steams best starting somewhere in the 3 to 5°C (roughly 38 to 41°F) range. Warm milk gives you less time to stretch before it hits temperature.
- Cold pitcher. Rinse it under cold water if it has been sitting out. A room-temperature pitcher shortens your working window.
- Pitcher sized to the milk. Fill to about one-third full. A pitcher that is nearly full cannot create a vortex; one that is nearly empty lets the milk slosh unpredictably.
- Milk with enough protein and fat. Whole milk is the forgiving default. See the milk comparison table below for what changes when you swap.
- Steam wand primed. Open the valve for a second to blow out condensation before you submerge the tip. Water in the wand dilutes the milk and kills foam.
- Espresso already pulled and waiting. Steamed milk separates quickly. Have your shot in the cup before you start steaming.
Symptom: Big Bubbles That Pop and Leave a Soupy Surface
Cause: the steam tip was too close to the surface of the milk, so air was injected in large gulps rather than a controlled sip. This is the single most common beginner error.
Fix: Lower the wand slightly. You want the tip just barely breaking the surface, so the sound is a steady, papery hiss — often described as tearing silk or a quiet frying sound. If you hear loud sputtering or see the milk surface erupting, you are pulling in too much air at once.
A related trap: over-stretching. Even a clean hiss produces foam, and beginners often keep stretching for the entire steam because the foam looks impressive. Cappuccino wants roughly a 50 percent volume increase from stretching — that is, if you started with 150 ml of milk, aim to reach about 225 ml before you stop adding air. Beyond that, the foam becomes stiff and dry, and the drink ends up with a thick, marshmallowy cap that sits on top instead of integrating.
Symptom: Milk Never Gets Foamy At All
Cause: one of three things — the wand is too deep, the steam pressure is too low, or the milk is too warm to start.
Fix: Work through these in order. First, check wand depth. If the tip is buried well below the surface, you are heating the milk without aerating it. Raise the pitcher or lower the wand so the tip sits at the surface. Second, check pressure. A machine that takes ten seconds of steaming to show any movement in the milk will struggle to produce microfoam, though it can still heat milk for a flat white. Third, check milk temperature. If the pitcher has been sitting on the counter, the milk is already partway to steaming temperature and the stretch window is short.
The practical test: with the tip correctly placed, you should see the milk level rise noticeably within the first three to five seconds of opening the valve. If it does not, adjust depth before adjusting anything else.
Symptom: Foam and Hot Milk Separate Into Two Layers
Cause: you added air but never textured. Stretching creates foam; texturing is the spinning phase that folds those bubbles into the body of the milk and breaks large bubbles into small ones.
Fix: After the initial stretch, sink the wand deeper — about a centimeter or two below the surface — and angle the pitcher so the steam creates a visible whirlpool. Watch for the milk to rotate as a single body, not slosh back and forth. Keep spinning until the pitcher feels uncomfortably hot to hold against your palm, roughly 60 to 65°C (140 to 149°F), then close the valve.
What a good spin looks like: the surface stays smooth and glossy, any remaining large bubbles get pulled down into the vortex and disappear, and the sound shifts from a hiss to a lower, steadier rumble once the wand is submerged. A gurgling or popping sound here means you have come back up too close to the surface.
Symptom: The Milk Screeches and Jumps
Cause: the steam tip is too close to the pitcher wall or the bottom, so the jet is bouncing off metal instead of spinning freely in liquid.
Fix: Move the tip toward the center of the pitcher and angle the pitcher slightly. The wand should sit off-center — typically a finger’s width in from the side of the pitcher — so the steam enters the milk on one side and pushes it around the inside wall. This off-center placement is what generates the whirlpool. Centering the wand kills rotation; too far to the side creates the metallic screech.
Symptom: Everything Looks Right, But the Foam Is Flat on the Espresso
Cause: the foam sat too long before pouring, or the milk was over-heated.
Fix: Pour immediately. Microfoam is a temporary structure — proteins and air held in suspension — and it begins to coarsen within a minute or two of the steam stopping. If the milk sits while you grind a fresh dose or clean the portafilter, you will lose the texture you worked for.
Over-heating is the second cause. Once milk passes roughly 70°C (158°F), the proteins that hold the foam begin to denature irreversibly. You can feel this as a pitcher that is too hot to hold at all, and taste it as a faintly scalded, sulfurous note. Stop at the point where the pitcher is hot but still grippable — many baristas describe it as “hot enough that you want to put it down within a second or two.”
Symptom: The Cappuccino Tastes Thin and Weak
Cause: too much milk for the size of the espresso, or a cappuccino that is really a latte.
Fix: Reconsider the ratio. A traditional cappuccino is roughly one part espresso to one part steamed milk to one part foam by volume — a small drink, often in a 150 to 180 ml (5 to 6 oz) cup. If you are using a large mug and filling it, you are making a latte and wondering why the coffee is lost.
The table below lays out the practical differences, so you can pick the target you are aiming at before you steam.
| Drink | Espresso | Steamed milk | Foam texture | Typical cup size | Steam target |
|---|---|---|---|---|---|
| Cappuccino | 1 shot (30 ml) | ~30–40 ml | Thick, dense microfoam, domed | 150–180 ml | Stretch more, texture only briefly |
| Flat white | 1 double (60 ml) | ~120 ml | Thin, glossy, minimal foam | 180–200 ml | Stretch very little, texture longer |
| Latte | 1 double (60 ml) | ~200–240 ml | Light microfoam, 5–10 mm cap | 240–300 ml | Stretch briefly, texture longer |
If your machine has a single-hole steam tip, expect a longer steaming time and a gentler vortex; a multi-hole tip spins faster and can be easier for cappuccino because foam forms more quickly.
Symptom: You Are Not Sure If You Are Doing It Right
Cause: no reference point for what correct looks, sounds, and feels like.
Fix: Use this sequence of sensory checkpoints on your next pitcher.
- First three seconds: a steady hiss, small bubbles folding in, milk level rising. If it is silent, raise the pitcher.
- Middle phase: wand sunk, whirlpool visible, sound drops to a low rumble, no large bubbles on the surface.
- Near the end: pitcher uncomfortable to hold for more than a second or two. Close the valve.
- After the valve closes: tap the pitcher on the counter once or twice to knock out any remaining bubbles, then swirl it in a circle. The milk should look like wet paint — glossy, uniform, and slightly thick.
- On the pour: tilt the cup and start high, then drop the pitcher close to the surface as the foam builds. The foam should flow out with the milk, not sit on top of it.
What Changes If You Are Not Using Whole Milk?
Milk choice affects foam stability more than any technique adjustment. The table below covers the realistic options a home barista would weigh, with how each behaves under the steam wand.
| Milk type | Foam stability | Notes for cappuccino |
|---|---|---|
| Whole dairy milk | High | The forgiving default. Fat and protein both contribute to stable microfoam. |
| Skim dairy milk | Medium-high, but drier | Foams easily but the resulting foam is stiffer and less creamy. Works, tastes thinner. |
| Oat milk (barista blends) | Medium-high | Barista-formulated oat milks are the closest plant option. Regular oat milk tends to foam poorly and taste grainy. |
| Almond milk | Low | Foams inconsistently and separates quickly. Difficult for cappuccino specifically. |
| Soy milk | Medium | Foams reasonably well, with a noticeable flavor shift in the drink. |
Barista-edition plant milks are formulated with added oils and stabilizers to mimic dairy behavior. If you are committed to a plant milk, start there before adjusting technique.
Symptom: You Keep Running Out of Time Mid-Steam
Cause: the pitcher size and the machine’s steam power are mismatched.
Fix: Match the pitcher to the machine. A low-pressure home machine with a small boiler struggles with a 600 ml pitcher filled halfway. Use a 350 ml pitcher with 100 to 120 ml of milk instead, so the steam can bring it to temperature before the boiler loses pressure. A machine with a strong steam wand handles larger pitchers without difficulty, and the extra milk buys you more time to stretch carefully.
A note on seasonal behavior: in a cold kitchen, the pitcher and milk start cooler, which extends your stretch window slightly — useful when you are learning. In a warm, humid summer kitchen, the milk warms faster and the window tightens. The same technique produces noticeably different results across the seasons, and that is normal.
Practice Plan for the First Week
Do not try to serve a cappuccino on your first attempt. Steam a pitcher, pour it down the sink, and repeat. The skill is muscle memory built from repetition, and the cost of practice milk is low compared to the frustration of trying to get a drinkable result on attempt one.
A workable sequence:
- Day one: steam three pitchers, focusing only on the hiss and the stretch. Ignore the pour.
- Day two: steam three more, focusing on the whirlpool phase and the temperature feel on your palm.
- Day three: combine both, then pour over a shot. Expect the first few pours to be lumpy.
- Day four onward: one pitcher per day is enough to keep the feel. Technique decays quickly without repetition.
The most common reason beginners plateau is not technique but inconsistency — a different pitcher size, a different milk, a different starting temperature each session. Pick one combination and stay with it until the results are repeatable, then change a single variable.
Which symptom matches what you are seeing in your pitcher — big bubbles, no foam at all, or milk that separates before you can pour? Describe what the steam sounds like and how the milk looks on the surface, and you can narrow down which single adjustment to try next.
Related guides: How to Pull Your First Espresso Shot: A Beginner’s Step-by-Step Tutorial, Espresso Tamping Technique: Step-by-Step Guide for Beginners, and Best Non-Dairy Milk for Espresso Drinks.