Say you have just unboxed an espresso machine, filled the reservoir, and set a bag of beans on the counter. The machine is warm, the portafilter is in your hand, and you are staring at a basket that looks far too small for the amount of coffee you think you need. The first shot is a few minutes away, and the gap between “I watched some videos” and “I am holding the tamper” is wider than you expected.
That moment is what this walkthrough is for. It runs through the process in the order you will perform it, from preparing the machine to tasting the result and deciding what to change next. Nothing here requires fancy gear, and no step assumes you have done this before.
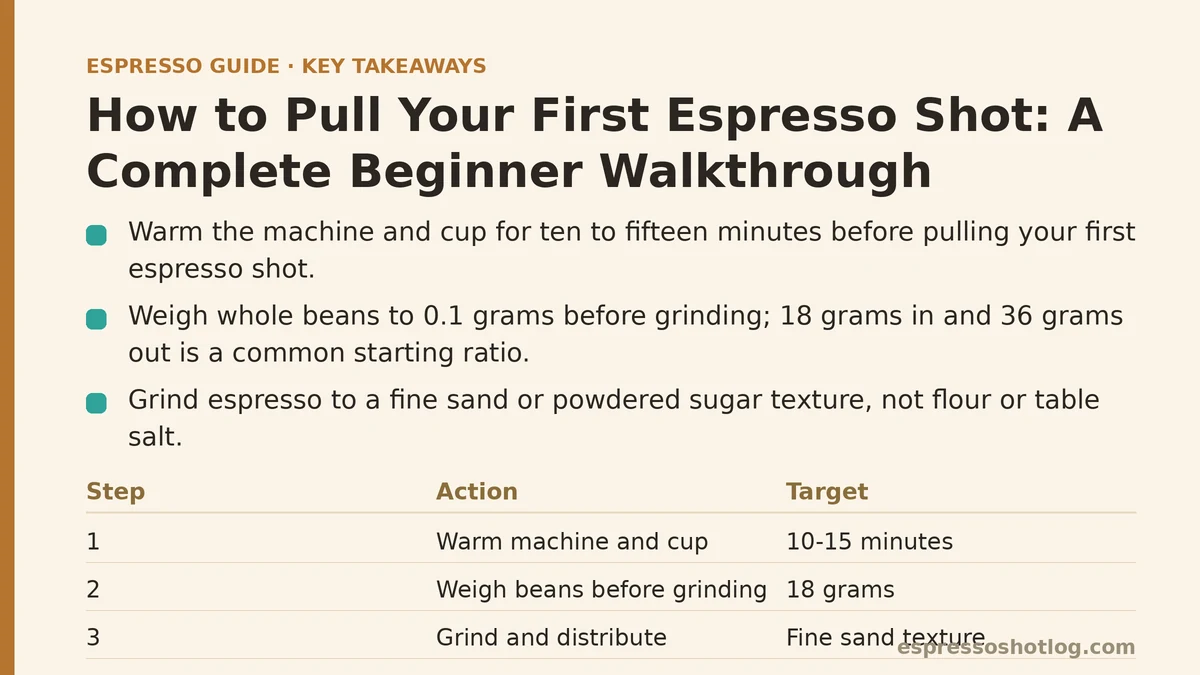
Step 1: Warm Up the Machine and the Cup
Espresso is unforgiving of cold metal and cold ceramic. A machine that has only been on for a minute still has a cold group head, and a cold cup pulls heat out of the shot the moment it hits the bottom.
Turn the machine on and give it ten to fifteen minutes. If the machine has a brew head you can touch, rest a hand near it — the metal should feel noticeably warm, not just not-cold. On most home machines, the boiler reaches temperature well before the group head does, and the group head is the part that touches your coffee.
While the machine warms, fill your cup with hot water and let it sit. Dump the water right before you pull the shot. This is a small step that costs nothing and eliminates one variable from your first attempt.
What you are listening for at this stage: most machines go quiet when they finish heating. That silence is your signal that the boiler has reached its set point. If the pump runs continuously or the machine cycles loudly every few seconds, it is still stabilizing.
Step 2: Weigh Your Coffee Before You Grind
This is the step beginners skip, and it is the step that separates a repeatable shot from a lucky one.
A digital scale that reads to 0.1 grams is the only piece of gear that is non-negotiable here. Without it, you cannot know how much coffee went in or how much liquid came out, and a shot you cannot measure is a shot you cannot adjust.
A standard double basket is typically rated for somewhere between 16 and 20 grams, and the manufacturer’s spec for your specific basket is the correct starting point. Pick a number in that range — 18 grams is a common default — and stay with it for your entire first session.
Weigh the beans whole, then grind. Grinding first and weighing after introduces retention error from the grinder, because some coffee stays inside the burrs and never makes it into your basket.
A practical first target: 18 grams in, 36 grams out. This 1:2 ratio is a widely used reference point for medium and medium-dark roasts because it produces a balanced extraction window that most palates find approachable. Treat it as a starting line, not a destination.
Step 3: Grind Into the Basket and Distribute
Grind directly into the portafilter basket if your grinder allows it. If not, grind into a small cup and transfer.
Espresso grind should look and feel like fine sand or powdered sugar — not flour, not table salt. Pinch a small amount between your fingers. If it clumps and holds a shape, it is too fine. If it feels gritty and falls apart, it is too coarse. The target sits between those extremes, and it shifts with the coffee you are using.
Once the coffee is in the basket, level it. You can do this with a simple finger swipe or by tapping the side of the portafilter a few times to settle the grounds. The goal is a flat, even bed before tamping — not a compressed one, just an even one.
What distribution is solving: coffee that sits higher on one side of the basket than the other will tamp down unevenly, and uneven puck density is the most common cause of channeling, where water punches through the loose side instead of flowing through the whole puck. A thirty-second leveling step prevents a frustrating first week.
Step 4: Tamp Level and Firm
Tamping compresses the coffee into a flat puck so water flows through it uniformly. The goal is level and firm — not hard.
Rest the tamper on the coffee and check that it sits flat. You can feel this by looking at the gap between the tamper’s edge and the basket rim on all sides. If the gap is uneven, tilt the tamper slightly until it sits flush.
Press straight down until you feel resistance stop increasing. That is your signal. Additional pressure beyond that point does not compact the puck further in any meaningful way — it just strains your wrist and adds inconsistency between shots.
A light twist to polish the top of the puck is optional. It changes very little.
Two failure modes to avoid:
- Tamping hard does not usually ruin a shot on its own, but it makes the process harder to repeat.
- Tamping at an angle does ruin shots, because one side of the puck ends up denser than the other.
If your spent puck comes out sludgy and tilted after the shot, tamping levelness is one likely cause — but so is an underfilled basket or a grind that is too coarse. Change one variable at a time.
Step 5: Lock In the Portafilter and Start the Pump
Wipe any loose grounds off the rim of the basket with your finger or a clean cloth. Coffee on the gasket seal can cause the portafilter to leak during extraction.
Lock the portafilter into the group head and turn it until it stops — snug, not wrenched. If it fights you, back off and check for grounds caught on the rim.
Place your warmed cup on the scale under the portafilter and tare the scale to zero. Start the pump. From this moment forward, the clock starts, but the clock is not your instruction — the scale is.
Step 6: Watch the Scale, Not the Clock
Watch the numbers climb on the scale. When the reading hits your target yield — 36 grams if you dosed 18 — stop the shot. Whatever time it took to get there is information about your grind, not a verdict on your shot.
A healthy extraction starts as a slow drip, dark and syrupy, then transitions into a thin, honey-colored stream within a few seconds. Listen for the pitch of the pump and the sound of liquid hitting the cup. If the flow starts fast and pale and never darkens, the grind is too coarse. If nothing comes out for ten seconds and then a thin trickle appears, the grind is too fine.
Timing as a diagnostic, not a target:
| Shot time to reach target yield | What it typically means | First adjustment to try |
|---|---|---|
| Under 25 seconds | Grind too coarse, or dose too low | Grind finer, one small step |
| 25 to 35 seconds | Normal window for most setups | Leave it alone — taste it first |
| Over 35 seconds | Grind too fine, or dose too high | Grind coarser, one small step |
A shot that hits 36 grams in 28 seconds is not automatically good, and one that hits 36 grams in 22 seconds is not automatically bad. The numbers tell you what to change; your palate tells you whether the change worked.
Step 7: Taste the Shot Before You Change Anything
Taste is the measurement that ultimately matters. Take a small sip while the shot is hot, and pay attention to the first and last impressions on your tongue and the finish in the back of your throat.
Sour, sharp, or salty: under-extracted. The water moved through the coffee too quickly to pull out the sweeter compounds. Grind finer, or increase the dose slightly.
Bitter, dry, or ashy: over-extracted. The water stayed in contact too long and pulled out harsh compounds alongside the good ones. Grind coarser, or decrease the dose slightly.
Simultaneously sour and bitter: uneven extraction, typically from channeling. Check your tamping for levelness and your distribution for clumps.
Weak or watery despite hitting your yield: the ratio is too long for this coffee. Try 1:1.5 or 1:1.75 and see whether the flavor concentrates.
Your first shot will probably not taste good. Neither will your second or third. This is normal, and it does not mean you bought the wrong machine or the wrong beans.
Step 8: Change One Variable and Repeat
Change one thing at a time, and give each change a full shot to show its effect. If you adjust grind, dose, and tamp pressure all at once, the result tells you nothing.
A workable sequence for a new coffee:
- Pick a dose and commit to it for the whole dial-in.
- Pull a shot with your current grind setting.
- Taste it. Note sour or bitter.
- Adjust the grind in the direction the taste suggests.
- Pull another shot.
- Repeat until the shot tastes balanced.
Only once the grind is close should you start touching dose or ratio. Grind does the heavy lifting; everything else is fine-tuning.
What If You Do Not Have an Espresso Grinder Yet?
This is the most common sticking point in the first week. Pre-ground supermarket coffee is almost always too coarse for a standard basket, and a blade grinder cannot make the fine, repeatable adjustments espresso needs.
You have a few realistic paths:
- Pressurized basket with pre-ground coffee. The pressurized basket has a single small hole in the bottom that creates artificial resistance, so the grind matters far less. This is a legitimate way to learn the mechanics of dosing, tamping, and stopping the shot. The skills do not transfer directly to a standard basket later, but the routine does.
- A hand grinder rated for espresso. A quality manual grinder costs a fraction of an electric espresso grinder and gives full grind control. Grinding 18 grams by hand for espresso takes roughly 30 to 60 seconds of steady cranking. Fine for one or two shots a day; tedious during a long dial-in session.
- Upgrade to an electric espresso grinder before anything else. If you are committed to a standard non-pressurized basket, this is the purchase that unlocks control. Trying to dial in a standard basket with a grinder that cannot make fine, repeatable adjustments is chasing variables you cannot influence.
Putting It Together
The routine looks like a lot on paper, but the whole process from warm-up to first sip is under ten minutes once you have done it twice. The point of every step is to remove one source of variation, so that when a shot tastes wrong, you can point to a single cause and change it.
The skill you are building is not precision for its own sake. It is the ability to taste a shot, form a hypothesis about what went wrong, and test that hypothesis with one adjustment. Everything else — the ratios, the timing windows, the gear — exists to support that loop.
What tends to go wrong on your first shots — do they run too fast, taste sour, or choke entirely? Describe what you are seeing and tasting, and a suggestion for which single variable to change first is easy to give.
Related guides: Espresso Tamping Technique: Step-by-Step Guide for Beginners, Espresso Troubleshooting Flowchart: Diagnosing Shots by Taste and Time, and How to Pull Espresso Shots on a Manual Lever Machine: A Beginner’s Step-by-Step Tutorial.