By the end of this guide you will be able to look at any espresso machine listing and tell whether it fits your kitchen, your budget, and the way you drink coffee — and more importantly, whether the grinder you pair it with can keep up. That last part is where most first purchases go wrong, so it gets its own section below.
Before comparing specific machines, it helps to clear up four beliefs that send beginners toward the wrong purchase. Each one sounds reasonable. Each one costs money to unlearn.
Myth 1: “I Should Spend Most of My Budget on the Machine”
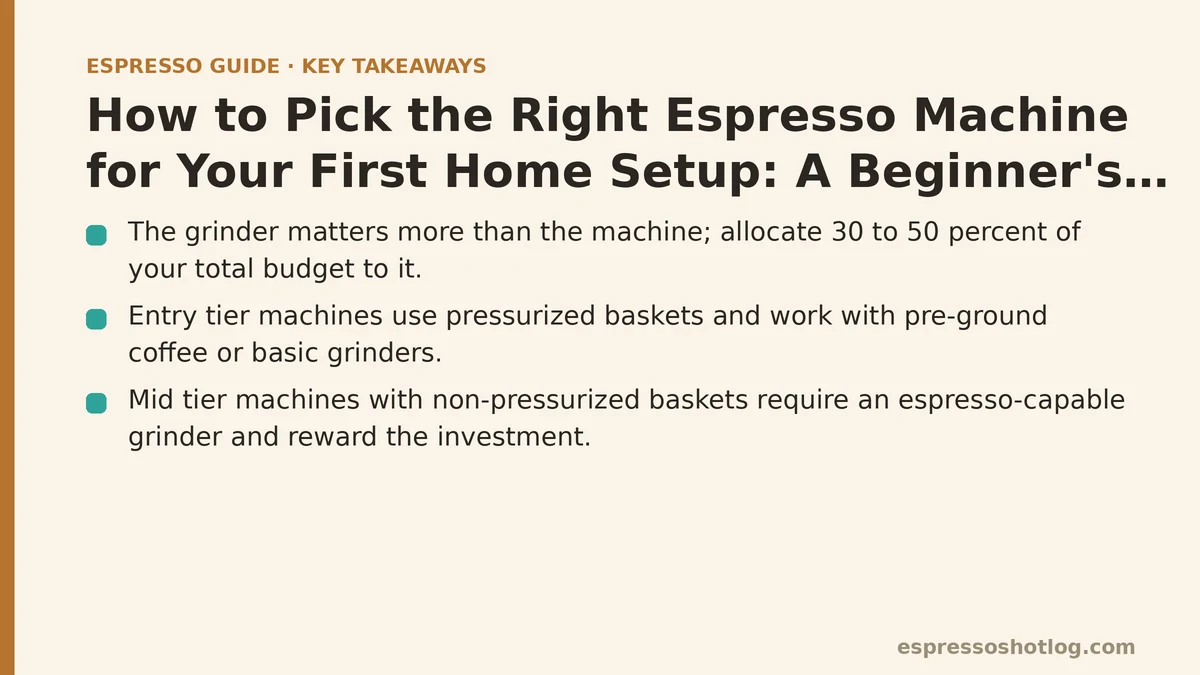
Reality: The grinder matters more than the machine, and it is the line item beginners most often underfund.
An espresso machine controls pressure and temperature. A grinder controls particle size, and particle size is what determines whether water flows through the puck evenly or punches a channel through it. A mid-range machine paired with a grinder that cannot make fine, repeatable adjustments will produce worse shots than a modest machine paired with a grinder that can.
The practical implication: if your total budget is fixed, split it roughly so that the grinder gets a meaningful share — often 30 to 50 percent of the total. A common entry pairing is a machine in the lower range paired with a burr grinder in a similar range, rather than an expensive machine paired with a blade grinder or pre-ground coffee.
How to tell if a grinder is up to the job: look for stepless or many-stepped adjustment, conical or flat burrs (not blades), and any indication that the manufacturer positions it for espresso rather than drip. A grinder marketed for “all brewing methods” can work, but check that its finest settings are fine enough to choke a shot — that is the range espresso lives in.
Myth 2: “A More Expensive Machine Will Make Better Coffee”
Reality: Above a certain point, you are paying for consistency, capacity, and convenience — not for a better-tasting shot on any given morning.
Three tiers capture most of the realistic options:
- Entry tier (pressurized basket, often with a steam wand): designed to work with pre-ground coffee or a basic grinder. Forgiving, consistent, and limited. You will not learn to control extraction, but you will learn the mechanics of dosing and tamping.
- Mid tier (non-pressurized basket, single boiler): the point where grind becomes a real variable. Requires an espresso-capable grinder and rewards the investment. This is where most hobbyists should aim.
- Upper mid tier (PID temperature control, better steam, sometimes dual boiler): adds temperature stability and the ability to steam milk without waiting between shots. Worth it if you drink milk drinks daily or pull several shots in a row.
What separates these tiers is not flavor ceiling on a single shot. It is repeatability across shots, tolerance for different coffees, and how pleasant the workflow feels at 6:30 in the morning. A machine you dread using makes worse coffee than a cheaper machine you enjoy.
Myth 3: “I Need Dual Boiler and PID From Day One”
Reality: Most beginners do not, and buying features you cannot yet use adds complexity without adding skill.
A single boiler with a modest steam wand is enough to learn dosing, distribution, tamping, and dialing in by taste. Those skills transfer to any machine you buy later. The features that justify an upgrade — simultaneous brewing and steaming, precise temperature adjustment for light roasts — only matter once you can taste the difference they make.
A reasonable test: if you cannot describe what your current shots taste like and which direction you would adjust the grind, a dual boiler will not help. If you can, and you are tired of waiting for the boiler to recover between a shot and steaming milk, that is a real reason to upgrade.
Myth 4: “Pre-Ground Coffee Is Fine to Start With”
Reality: Pre-ground coffee works in exactly one configuration — a pressurized basket — and it will not teach you anything about espresso.
Pressurized baskets create artificial resistance using a small hole in the bottom of the basket, which means the grind size barely matters. This is a legitimate way to start. It produces drinkable shots with supermarket coffee, and there is no shame in it. But the skills you build on a pressurized basket — tamping pressure, distribution technique, grind adjustment — do not transfer directly to a standard basket, because the basket was compensating for all of them.
If you want to leave the pressurized basket behind, the grinder is not optional. It is the entry fee.
Comparing the Three Setups Most Beginners Choose Between
Here is how the realistic options stack up against each other. These are typical ranges and characteristics, not measurements from any particular machine.
| Setup | Typical cost range | Grinder needed | Best for | Main limitation |
|---|---|---|---|---|
| Entry machine + pressurized basket + pre-ground coffee | Lowest | None | One or two milk drinks a day, low effort, no interest in dialing in | Grind and dose have little effect; skills do not transfer to a standard basket |
| Mid-tier machine + non-pressurized basket + espresso burr grinder | Middle | Yes, required | Daily espresso drinkers who want to learn dialing in by taste | Requires fresh beans and a dial-in session with each new bag |
| Upper mid-tier machine (PID, better steam) + quality espresso grinder | Higher | Yes, and a good one | Households pulling multiple drinks in a row, milk drinks daily, light-roast experimentation | Higher upfront cost; more variables to learn at once |
Read the table by asking which row describes your mornings, not which row you aspire to. Someone who drinks one flat white on weekdays is served well by the first row. Someone who pulls two doubles and steams milk for a partner is fighting the first row’s limitations by week two.
The Seasonal and Situational Details That Change the Answer
Machine choice is not only about specs. A few situational factors decide the purchase as often as the budget does.
Kitchen counter space and clearance. Measure the height between your counter and the upper cabinets. Some machines with a top-mounted cup warmer or a tall drip tray will not fit under standard cabinets, and you find out after delivery. Check the machine’s dimensions with the portafilter handle inserted, too — the handle adds depth.
Water. Espresso machines are sensitive to scale. If your tap water is hard, plan for filtered or bottled water, or a machine with a descaling routine you will tolerate doing. Hard water shortens the life of any machine, regardless of price. A simple test: boil a pot of your tap water dry and look at the residue. Heavy white chalk means you should filter.
How many drinks per session. Single boiler machines need time to recover between brewing and steaming. If you make one drink, this is invisible. If you make four, it becomes the dominant feature of the experience. Count the drinks your household makes on a weekend morning before deciding.
Noise. Vibratory pumps are loud. Rotary pumps are quieter and usually appear on higher-tier machines. If you brew before anyone else wakes up, this matters more than the spec sheet suggests.
Bean freshness. Espresso responds to fresh coffee in a way drip brewing does not. If you are not prepared to buy beans roasted within the last two to four weeks, the difference between machine tiers shrinks considerably.
What to Listen and Look For When You First Use It
Once the machine is on the counter, the early sessions tell you whether the setup is working. A few sensory checkpoints:
- Sound: a healthy extraction starts with a slow, quiet drip, then settles into a steady stream. A pump that sounds strained, or a long silence followed by a sudden gush, points to a grind problem rather than a machine problem.
- Flow appearance: the first liquid should be dark and syrupy, transitioning within a few seconds to a thin, honey-colored stream. A flow that starts pale and stays pale usually means the grind is too coarse.
- Feel of the puck: after the shot, knock the puck out. A puck that holds together and comes out in one piece suggests reasonable distribution. A sludgy, cratered puck suggests channeling, an underfilled basket, or a grind that is too coarse.
- Taste: sour and sharp means under-extracted; bitter and dry means over-extracted. Adjust the grind one step at a time and pull another shot.
Your first several shots will likely be drinkable but not good. This is normal and is not a sign that the machine is wrong. Dialing in a new coffee commonly takes three to six shots, and a new grinder can take longer. The skill being built is not “making a perfect shot” — it is “knowing what to change next.”
The Beginner Failure Modes and Their Fixes
A few problems come up so regularly that they are worth naming before you buy.
Buying the machine first and the grinder later. This is the most common and most expensive mistake. Fix: decide the grinder before the machine, or buy them as a pair within a single budget.
Choosing a machine that does not fit the counter. Fix: measure height, width, and depth, including the portafilter handle and any cup on the drip tray, before ordering.
Underestimating the learning curve. The first week is frustrating for almost everyone. Fix: start with a medium or medium-dark roast, which is more forgiving than a light roast, and change only one variable at a time.
Chasing features instead of skills. A dual boiler will not fix sour shots. Fix: spend the first month on grind, dose, and tamp, and upgrade only when you can articulate what the current machine is holding back.
Ignoring water quality. Scale is the quiet killer of home machines. Fix: filter your water or use a low-mineral bottled water from day one, not after the first descale.
A Short Decision Sequence
If the comparison table feels like a lot, work through these questions in order. The answer to each one narrows the field.
- How many espresso or milk drinks does your household make on a typical morning? One to two points toward the entry or mid tier; three or more points toward the upper mid tier.
- Are you willing to buy fresh beans and adjust a grinder? If yes, skip pressurized baskets entirely and budget for an espresso burr grinder. If no, a pressurized basket is a valid, honest choice.
- What is your total budget, and have you reserved 30 to 50 percent of it for the grinder?
- Does the machine fit your counter, under your cabinets, and next to a water source you are willing to use?
- Do you drink milk drinks daily? If so, prioritize steam quality over brew temperature features.
Answer those five and the shortlist usually writes itself.
When to Stop Comparing and Start Brewing
Once you have a machine that fits your counter, a grinder that can choke a shot, fresh beans, and water you are willing to drink, further comparison produces diminishing returns. The differences between two reasonable machines in the same tier are smaller than the difference a week of practice makes.
Pick the one that fits your mornings, set it up, and pull shots. The next session will tell you more about whether you chose well than any spec sheet can.
Which part of the decision is currently blocking you — the grinder budget, the counter space, or figuring out how many drinks you will realistically make? Describe your situation and I can help narrow the shortlist.
Related guides: How to Pull Your First Espresso Shot: A Beginner’s Step-by-Step Tutorial, Espresso Tamping Technique: Step-by-Step Guide for Beginners, and Espresso vs Strong Coffee: Real Differences.