A flat white is not a small latte, and treating it as one is the most common reason home attempts come out thin, watery, or bitter. The drink is defined by a short, strong espresso base and a small volume of milk textured so finely that it reads as a single liquid rather than foam sitting on top of coffee. Get the ratio and the milk texture right, and the cup tastes sweet, dense, and clean; get either wrong, and you get a milky espresso with a bubbly cap that separates within a minute.
This guide walks through the process in sequence, from the coffee you pull to the pour that finishes the drink. Each step builds on the one before it, so work through them in order the first few times before you start improvising.
Step 1: Choose a Coffee That Stands Up to Milk
Milk is a powerful flavor mask. A delicate, floral single origin with bright acidity will disappear under 120 milliliters of steamed dairy, and the resulting drink tastes flat and vaguely sweet. Flat whites reward coffees with enough body and sweetness to remain present through the milk.
Three realistic directions, and when each makes sense:
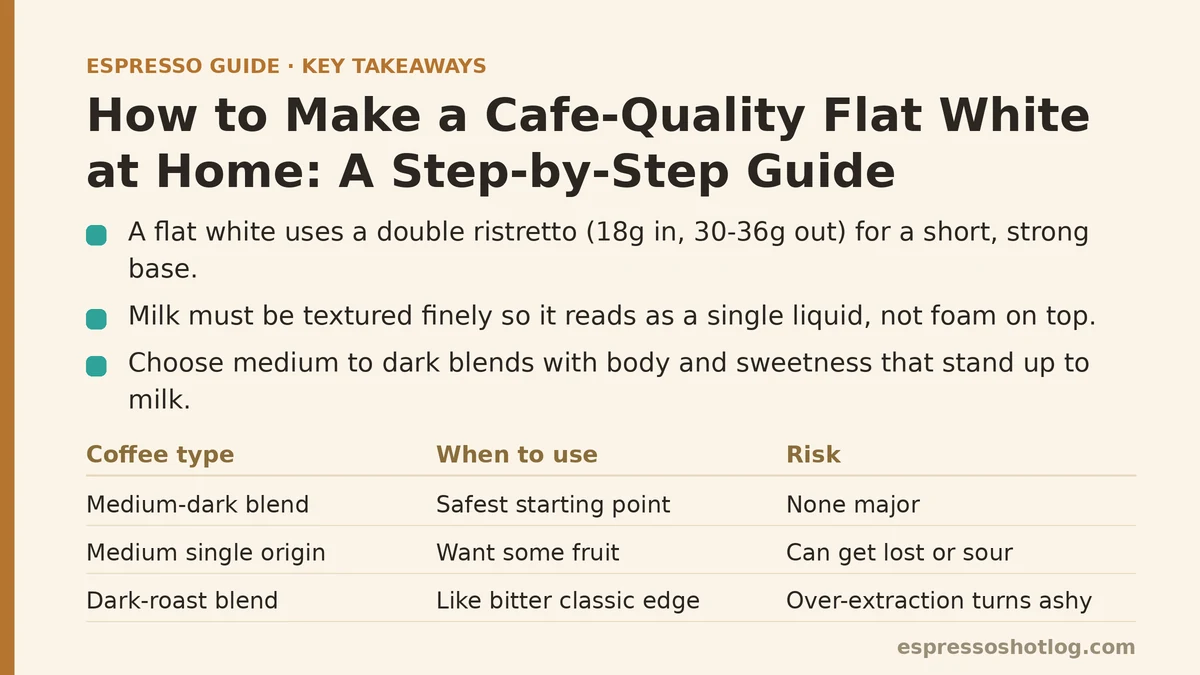
- Medium to dark blends built for milk drinks. These are the traditional choice and the safest starting point. Chocolate, caramel, and toasted nut notes pair with dairy’s sweetness, and the roast level provides enough structure to keep the coffee legible. This is what most cafes serve as their house flat white.
- Medium-roast single origins with dense fruit or brown-sugar sweetness. A washed Brazilian or a Colombian with strong caramel notes can work, particularly if you enjoy a little more fruit in the cup. The risk is that lighter, more acidic coffees get lost or turn sour against milk.
- Dark-roast espresso blends, if you like a more bitter, classic edge. The danger here is over-extraction, which turns the drink ashy once dairy is added. Keep the shot short and sweet.
Seasonal note: as beans age past roughly four weeks from roast, they shed the CO2 that helps build crema and stable extraction. A coffee that pulled beautifully in its first two weeks often turns thin and fast by week five, which changes the milk-to-coffee balance more than any recipe tweak will fix. Buy in amounts you will finish.
Step 2: Pull a Short, Concentrated Shot
A flat white wants a smaller, more intense espresso than a latte. The standard approach is a double ristretto — roughly 18 grams in, 30 to 36 grams out — which concentrates flavor and reduces the watery tail that dilutes the milk.
Set your grinder slightly finer than you would for a standard 1:2 shot, and stop the pump earlier. Where a latte-style shot might run 36 to 40 grams out in 27 to 30 seconds, a ristretto stops closer to 30 grams in the same time. The result is thicker, sweeter, and less bitter, because the harshest compounds tend to arrive late in the extraction.
What to watch and listen for: the flow should start as dark, syrupy drips, transition to a honey-colored stream, and still be visibly thick when you stop it. If it runs blond and thin before you hit your yield, the grind is too coarse or the dose too low. If it chokes and barely drips, back the grind off in small increments.
If the shot tastes sharply sour even after correction, the coffee may be too lightly roasted for this drink. If it tastes ashy, pull shorter. A flat white forgives a lot, but a bitter base turns the whole cup bitter.
Step 3: Texture the Milk to Microfoam, Not Foam
This is the step most home baristas struggle with, and it determines whether the drink is a flat white or a failed latte. The goal is a thin, glossy, paint-like layer of microfoam — tiny bubbles so small the milk looks like wet silk, with almost no visible foam volume.
The sensory target: tilt the pitcher after steaming. The milk should look like a single uniform liquid with a slight sheen, not a foam cap floating on liquid milk. Swirl it; it should move like heavy cream. If you see large bubbles or distinct layers, the texture is off.
How to get there:
- Start with cold milk and fill the pitcher to just below the base of its spout. Whole milk gives the richest texture and the most forgiving margin; semi-skimmed works but loses body. Plant milks vary widely — barista-labeled oat milk is the most reliable non-dairy option because it is formulated to foam.
- Introduce air only briefly. With the tip just below the surface, you want a few seconds of quiet hissing — not a loud, violent screech. A short, controlled aeration of about two to three seconds is usually enough for a flat white, far less than a cappuccino.
- Then submerge the tip fully and let the milk spin in a vortex until the pitcher feels warm and slightly uncomfortable against your hand — roughly the temperature of a hot bath, around 55 to 60°C. Do not let it climb higher; scalded milk tastes cooked and sweet in the wrong way.
- Tap and swirl the pitcher firmly on the counter to break any large bubbles, then swirl in a circular motion to incorporate the foam into the body.
A beginner’s common failure is over-aerating: a loud, long hiss produces a thick foam cap that sits on top of the espresso and refuses to blend. If you end up with a stiff foam layer, tap and swirl longer, or use the excess to practice and pull another. Milk that sits too long after steaming separates and needs a fresh swirl before pouring.
Step 4: Pour the Milk in Two Distinct Phases
The pour is where the flat white’s signature thin layer of microfoam is formed, and it is more technique than recipe.
Phase one: build the base. Hold the cup at a slight angle and pour from a moderate height — roughly 5 to 8 centimeters above the surface. The milk should plunge below the crema and mix with the espresso, so this phase adds the milk’s sweetness and body without creating foam on top. Pour fairly steadily and watch the color shift from dark brown to a mid-tan.
Phase two: finish with the foam. As the cup fills to roughly two-thirds, lower the spout close to the surface and slow the pour. The remaining microfoam now floats out into a thin layer. For a flat white, resist the urge to draw latte art hearts — the layer should be minimal and even, not a prominent pattern. Tilt the cup back to level as you finish.
The ratio to aim for: a double ristretto of roughly 30 grams combined with 110 to 130 grams of textured milk produces a drink in the 140 to 160 gram range, served in a cup of around 150 to 170 milliliters. That is a smaller cup than most people reach for at home, and the size matters; too much milk and the drink becomes a latte.
Quick Reference: Ratios and Targets
| Parameter | Common flat white target | Notes |
|---|---|---|
| Dose (dry coffee) | 18 g | Standard double basket |
| Yield (espresso out) | 30–36 g | Ristretto-style, stopped early |
| Extraction time | 25–30 seconds | Adjust grind to hit this window |
| Milk amount | 110–130 g | Whole milk preferred |
| Milk texture | Thin microfoam, no visible bubbles | 2–3 seconds aeration |
| Milk temperature | 55–60°C | Stop before scalding |
| Finished cup volume | ~150–170 ml | Smaller than a latte |
What to Adjust When the Drink Is Wrong
Taste the finished drink, not just the espresso, because milk changes everything. Here is how to translate common complaints into a single fix.
Tastes watery or weak: the milk volume is too high or the shot too short of flavor. Either reduce the milk to around 110 grams or pull a slightly longer shot within the ristretto window. Do not fix both at once.
Tastes bitter or burnt: the shot is likely over-extracted or the milk scalded. Pull shorter, check the grind, and verify the milk temperature with a thermometer for a week until you can judge it by touch.
Foam cap sits on top and refuses to blend: too much air was introduced. Reduce aeration time and swirl more thoroughly before pouring.
Milk separates in the cup: the milk sat too long after steaming, or the foam was too stiff to incorporate. Swirl and pour immediately.
Beginner anxiety tends to peak around milk steaming, and the best fix is patience with repetition rather than more equipment. A pitcher with a clear spout helps, but technique improves faster than gear changes will show.
When to Pull a Shot vs. When to Rebuild the Milk
Practice loop discipline: change one variable per attempt. If the milk texture is wrong, focus on aeration and swirling and do not touch the grind. If the coffee tastes off in the finished drink, adjust the shot and accept whatever milk you produce in the same session. Changing both at once produces a drink you cannot diagnose.
A realistic expectation for a new setup is three to six attempts before the drink reads as balanced, and longer if you are learning to steam milk for the first time. Each attempt teaches you one thing about your specific machine, pitcher, and coffee — none of which can be dialed in from a recipe alone.
Once the drink consistently lands near the target ratios and the milk layer looks glossy and thin, stop adjusting and drink it. The last small variables — a gram of milk here, two seconds of extraction there — matter less than a stable, repeatable routine you can trust on a busy morning.
If your first flat white came out closer to a latte or a cappuccino, describe whether the milk formed a thick foam cap or a thin glossy layer, and which area to tackle first becomes easier to pinpoint.
Related guides: How to Pull Your First Espresso Shot: A Beginner’s Step-by-Step Tutorial, Espresso Tamping Technique: Step-by-Step Guide for Beginners, and Best Non-Dairy Milk for Espresso Drinks.