Espresso troubleshooting is the process of isolating a single extraction variable — grind, dose, distribution, tamp, temperature, or basket type — by reading the shot’s flow, timing, and taste, then changing one thing at a time until the fault clears. The difficulty is not knowing which fixes exist; it is knowing which one to apply first when a shot tastes wrong and three or four causes could plausibly explain it.
This guide works through a single faulty shot from diagnosis to resolution, in the order a home barista would reasonably tackle it, with the general checklist woven into that walkthrough so you can apply the same sequence to your own machine.
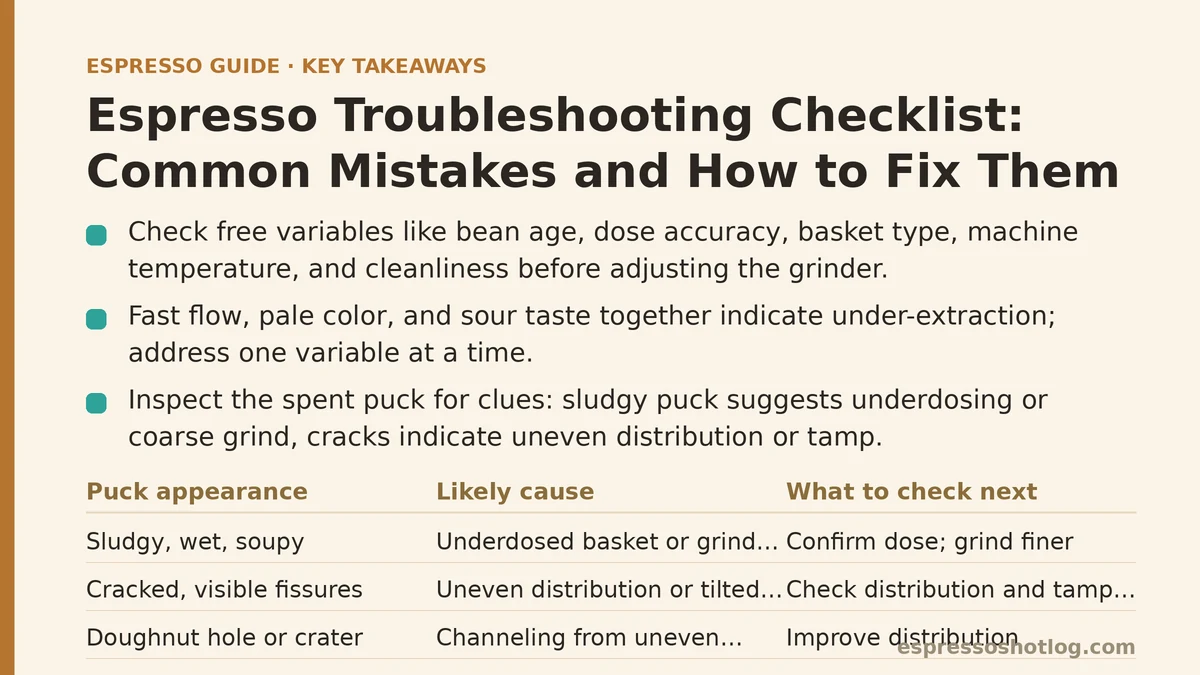
The Shot That Started the Walkthrough
The scenario: a standard double basket, 18 grams dosed, medium roast beans opened nine days ago, a machine that has been pulling acceptable shots for two weeks. Then one morning the shot runs 19 seconds to reach 36 grams out, the stream is pale from the first drip, and the cup tastes sharply sour with a thin, watery body. No bitterness to balance it. Just acid and water.
Before touching anything, note what the shot already tells you. Fast flow plus pale color plus sour taste is the classic signature of under-extraction. That narrows the suspects to a short list, and the checklist below orders them by how often they turn out to be the cause and how cheap they are to test.
Step One: Rule Out the Free Variables
Before adjusting the grinder, check the things that cost nothing to verify. Baristas who skip this step often “fix” a grind problem that was never a grind problem.
Checklist — verify in this order:
- Beans: How old are they? Coffee past roughly four to six weeks post-roast loses the CO₂ that helps create resistance in the puck, and shots start running fast and tasting hollow. Beans opened nine days ago and stored sealed are usually fine; beans sitting in an open bag on the counter for a month are not. If the beans are suspect, buy fresh before changing any settings.
- Dose accuracy: Weigh again. A dose that has drifted from 18 grams to 16 grams because of a grinder retention change will speed up the shot noticeably.
- Basket type: Confirm you are using the basket you think you are. Swapping between a pressurized and a non-pressurized basket, or between basket sizes, changes everything downstream.
- Water and temperature: Has the machine had enough time to heat? A machine pulled from cold, or one that has sat idle long enough to cool its group head, produces sour, thin shots that mimic a grind fault. Give it 15 to 20 minutes from switch-on.
- Cleanliness: A shower screen clogged with old coffee oils distributes water unevenly and produces both channeling and pale flow. A quick backflush and a look at the screen rules this out.
If all five check out, move to the puck itself.
Step Two: Read the Puck
Knock the spent puck out and look at it. This is the cheapest diagnostic in espresso and most beginners skip it entirely.
What to look for:
| Puck appearance | Likely cause | What to check next |
|---|---|---|
| Sludgy, wet, and soupy on top | Underdosed basket or grind too coarse | Confirm dose against basket rating; grind finer |
| Cracked, with visible fissures | Uneven distribution or a tilted tamp | Check distribution and tamp levelness |
| Doughnut hole or a crater on one side | Channeling from uneven puck density | Improve distribution before tamping |
| Hard, dry, and difficult to knock out | Overdosed or grind too fine | Reduce dose slightly or grind coarser |
| Clean, level, and holding its shape | Puck is fine — look elsewhere | Revisit beans, temperature, or machine |
In the walkthrough scenario, the puck comes out wet and slightly cratered on one side. That points to two overlapping issues: the puck is not offering enough resistance (grind or dose) and water is finding a weak path through it (distribution or tamp levelness).
Step Three: Distribution and Tamp — The Free Fixes
Before touching the grinder dial, correct anything wrong with how the puck was built. These adjustments cost nothing and can resolve a shot that looks like a grind problem.
Distribution. Coffee dropped straight from the grinder into the basket lands in a mound, and the fines tend to concentrate in one spot. Level the bed before tamping — a simple stir with a paper clip or a toothpick through the grounds, followed by a light tap of the portafilter to settle, is enough to even things out. Distribution tools exist and work, but they solve the same problem a stir does.
Tamp levelness. A tilted tamp creates a density gradient, and water takes the easy path. Place the tamper on the coffee and check the gap between the tamper’s edge and the basket rim on all sides before pressing. Level matters far more than force; pressing hard on a tilted puck just locks the tilt in.
Tamp pressure. Moderate, consistent pressure is enough. A puck reaches its practical compression limit quickly, so pressing harder than necessary adds wrist strain rather than extraction quality.
Correct distribution and a level tamp are the most common fixes for a shot that tastes simultaneously sour and bitter — the signature of channeling, where part of the puck is under-extracted and part is over-extracted in the same cup.
Step Four: The Grind Adjustment
If the puck was well built and the shot still ran fast and tasted sour, the grind is the next variable. This is where most dial-in time goes, and where most beginners overcorrect.
Direction: sour and fast means grind finer. Bitter and slow means grind coarser. Those two pairings cover the large majority of grind decisions.
Magnitude: change in small steps, one increment at a time, and pull a shot after each change. On most espresso grinders a single click or numbered step is a meaningful shift; jumping three or four notches makes it impossible to attribute the result to anything. The temptation after a bad shot is to crank the dial dramatically. Resist it — a shot that swings from sour to choking in one adjustment tells you nothing except that you moved too far.
The seasoning reality: new burrs and freshly cleaned grinders produce inconsistent particle sizes for the first handful of shots. If the grinder was just cleaned or is brand new, expect two or three throws before the output settles. Judge nothing from the first shot after a deep clean.
In the walkthrough, one step finer on the grinder with the corrected distribution moves the shot from 19 seconds to 26 seconds, and the sourness drops noticeably but the finish still feels thin.
Step Five: Ratio and Yield
When the flow looks healthy but the flavor is still weak or washed out, the ratio is worth revisiting. Grind does the heavy lifting; ratio is the fine adjustment.
A 1:2 ratio — 18 grams in, 36 grams out — is a reasonable default for medium and medium-dark roasts. It is not a rule. Lighter roasts often need a longer ratio (1:2.5 or even 1:3) to extract fully, because denser beans resist water. Very dark roasts can taste ashy at 1:2 and improve with a shorter one.
Try shortening the ratio before lengthening it when the shot tastes thin despite a good flow: stop the shot at 30 grams out instead of 36 and taste the difference. If flavor concentrates and sweetness comes forward, the ratio was too long for that coffee. If it gets sharper and more acidic, the ratio was fine and the grind needs another small step finer.
Step Six: Temperature and Pressure
Only reach for these after grind, dose, distribution, and ratio are settled. Temperature and pressure faults are less common on home machines and harder to adjust, so they belong near the end of the checklist.
Temperature. Sour shots that persist after a correct grind and ratio often point to brew temperature running low. Many machines allow a temperature offset adjustment; if yours does, try a small increase and compare. Lighter roasts generally want hotter water, darker roasts cooler.
Pressure. A machine running well below its rated pressure produces weak, fast, under-extracted shots regardless of grind. If your machine has a pressure gauge, check that it reaches its normal operating range during a shot. If it does not, and the machine is a model with an adjustable OPV (over-pressure valve), that adjustment is a job for the manual or a technician rather than guesswork.
The Full Checklist, Condensed
For quick reference during a dial-in session, the sequence that resolves most faults:
- Beans fresh? Within four to six weeks of roast, stored sealed.
- Machine hot? 15 to 20 minutes from switch-on.
- Dose weighed and correct? Matches basket rating.
- Distribution even? Stirred and leveled before tamping.
- Tamp level? Gap even on all sides.
- Grind direction correct? Finer for sour and fast, coarser for bitter and slow.
- Grind step small? One increment per shot.
- Ratio appropriate? Adjust yield before adjusting anything else.
- Temperature and pressure in range? Check last.
- Stop after five shots. Palate fatigue sets in and further changes stop being reliable.
Common Beginner Mistakes That Cause Most Faults
A few recurring errors account for a large share of bad shots, and each has a straightforward fix.
Changing multiple variables between shots. Grind, dose, and tamp all adjusted at once produces a result nobody can interpret. Change one thing, pull one shot, taste, repeat.
Judging a shot by time alone. A 25-second shot is not automatically good, and a 22-second shot is not automatically bad. Yield and taste decide; time is a diagnostic hint, not a target.
Chasing a perfect shot on stale beans. No grind setting rescues coffee that has gone flat. Fresh beans first, dial-in second.
Over-tamping as a habit. Firm and level beats hard and tilted. Extra force beyond the puck’s compression limit changes nothing except your wrist.
Ignoring the puck. The spent puck is free information about what happened inside the basket. Look at it every time until reading it becomes automatic.
When to Stop Adjusting
Once shots land consistently in a sensible time window, taste balanced rather than sharply sour or bitter, and hit the target yield within a gram or two, you are done for the session. Beyond that point, adjustments produce diminishing returns and palate fatigue makes the next taste unreliable.
The next session will tell you whether the settings held — and they often shift slightly, because beans age, humidity changes, and a grinder’s output drifts as the burrs warm up. That is normal. The checklist is not a one-time procedure; it is a loop you run whenever a shot tastes wrong, starting from the cheapest checks and only moving to the grinder when the free variables have been cleared.
Which fault shows up most often in your shots — fast and sour, slow and bitter, or something in between? Describe the flow, the time, and the taste, and the checklist above can point to the single variable to change first.
Related guides: How to Pull Your First Espresso Shot: A Beginner’s Step-by-Step Tutorial, Espresso Tamping Technique: Step-by-Step Guide for Beginners, and Espresso vs Strong Coffee: Real Differences.