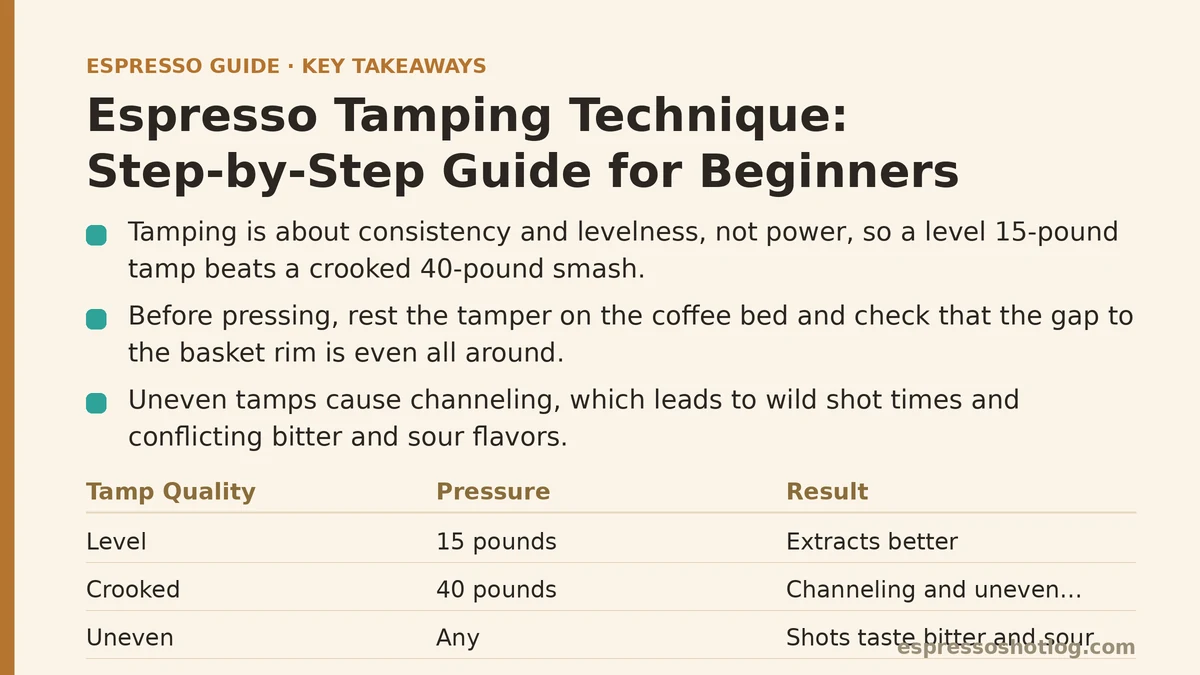
The biggest misconception about tamping is that it requires force — that more muscle produces better espresso. The opposite is closer to the truth. Tamping is about consistency and levelness, not power. In practice, a perfectly level 15-pound tamp extracts better than a crooked 40-pound smash every single time. Once that clicks, your shots stop being a roulette wheel of sour and bitter.
Let me walk you through the exact process you can use, illustrated with a hypothetical example: a customer named Daniel who had been fighting his new machine for two weeks. He had good beans, a solid grinder, and a machine that cost more than his first car. But every shot ran either too fast with thin, pale crema or choked to a trickle mid-pull. The common thread, after watching him work, was a tamp that looked more like a shaky hand stamp than a deliberate seating of the coffee bed.
What Tamping Does
Before touching a tamper, understand the job. The espresso machine pushes water through coffee at around nine bars of pressure. Water takes the path of least resistance. Tamping compresses the grounds into a uniform, dense puck so that water is forced to extract evenly through every particle — not blast a channel through loose spots.
Think of it like packing snow for a snowball. You are not trying to crush the snow into ice. You are trying to create a structure that holds together long enough to do its job. Over-tamping is a myth at home-machine pressures; you cannot compact coffee so hard that it becomes impenetrable. But you can tamp unevenly, and that is where problems live.
Daniel’s Setup and the Signs of Trouble
Daniel pulled shots with an 18-gram basket, a naked portafilter, and a standard 51mm tamper that came with his machine. His first clue was the naked portafilter — instead of a single even stream of espresso, he saw three distinct streams that quickly merged into a spray. That visual alone tells you the water found multiple paths through the puck. Classic uneven tamp.
The second clue was his yield. He was targeting 36 grams out in about 30 seconds. Sometimes he hit 25 seconds, sometimes 40, with the same grind setting. When grind and dose are constant, timing that swings that wildly points to preparation, not the grinder.
What you’ll often notice: resting the tamper on the basket, pushing down hard with the palm, and letting the hand drift slightly off-center, which leaves the puck thicker on one side. The water, always hunting the soft side, blew through there first. Every shot was over-extracted on one half and under-extracted on the other, which in the cup tasted like conflicting notes of bitterness and sharp acidity.
Step One: Level Before You Press
The single most important moment in the entire tamp happens before you apply any pressure. The tamper base must sit perfectly flat, parallel to the top of the basket rim, with the coffee level underneath it.
How to check it without thinking: rest the tamper on the coffee bed without pressing. Look at the gap between the tamper’s base and the basket’s rim. If that gap is even all the way around — you are level. If you see more gap on one side, the coffee is sitting at an angle. Gently tap the portafilter sideways (not up and down) against your counter to redistribute, then re-check.
Most beginners skip this check because it feels fussy. It takes three seconds. In testing, this single step solved more of Daniel’s channeling than any other adjustment we made.
Step Two: The Pivot and the Press
With the tamper level, here is where the real technique lives. Place your elbow directly above the tamper, so your forearm is vertical. Your wrist should be straight, not bent. Now — and this is the part nobody explains well — pivot your body weight into the tamp rather than using arm muscle.
A good tamp uses your shoulder and torso, not your bicep. Imagine you are gently closing a heavy door with your palm flat. The motion is smooth, controlled, and ends with the tamper fully seated. Press down with moderate, even pressure — the depth of the coffee bed will compress noticeably, then stop. When it stops, you have tamped enough.
The exact number of pounds is less important than the consistency of that number between shots. Aim for firm, not heroic. Around 15 to 20 pounds of pressure is the sweet spot for most home setups. If you want to calibrate your feel, place a bathroom scale on your counter and practice pressing your tamper onto it without any coffee in the basket. Feel what 15 pounds is in your shoulder. Then duplicate that same sensation on every shot.
Step Three: The Wrist Twist That Everyone Gets Wrong
After pressing down, twist the tamper 90 degrees — a quarter turn — while keeping pressure on. This polishes the surface of the puck and, in theory, clears any grounds clinging to the basket walls.
The mistake I see constantly is treating this twist as a separate, vigorous action — like polishing a table with a rag. That introduces sideways torque, which distorts the puck and re-creates the exact unevenness you just fixed. The twist should be minimal and slow, more of a seating motion than a polish. If the tamper does not spin easily, do not force it. The puck is already compressed; the twist is a minor extra step.
Step Four: The Flip Test (and Why You Should Do It)
The most reliable way to know if your tamp is solid: flip the portafilter upside down over your palm after tamping. If the puck stays in place — you are good. If it falls out in one solid disc — also good, because it means your coffee bed is cohesive.
Daniel’s pucks, before we fixed his technique, crumbled apart at the edges when he knocked them out. After the level-check and body-weight press, his spent pucks came out as clean, intact discs with no cracks. That visual feedback is the easiest way to confirm you are on the right track.
Two warnings about the flip test. First, it only works if you are not holding the portafilter over your machine or anything fragile. Second, do not do this over your espresso cup — a flying puck grounds in your drink is a sad way to start the morning.
What Daniel’s First Correct Shot Looked Like
The first time Daniel applied all four steps together — level check, body-weight press, minimal twist, flip test — his shot pulled differently from the first few drops. The stream started as a single, thin, honey-colored ribbon that widened slowly, holding together without splashing. The extraction time landed at 31 seconds for 36 grams out, matching his target almost exactly.
The taste difference was not subtle. The sour-bitter conflict was gone. His shot had a clean sweetness, a round body, and a finish that lingered without turning harsh. He looked at the cup like it had been brewed by a different machine. Same beans, same grind, same dose — the only variable was the tamp.
That is the message I want to land here: if your espresso tastes inconsistent, examine your tamp before you blame the coffee, the grinder, or the machine. The parts in between — the ones you control with your hands — are where most beginner failures live.
When the Tamp Is Not the Problem
To be fair, tamping does not solve every bad shot. Here is when to look elsewhere:
If your shots run fast no matter what: your grind is likely too coarse, or your dose is too low for the basket. Tamp consistency will not rescue an under-dosed basket. Check your basket’s rated dose and weigh your beans.
If your shots choke even with a gentle tamp: the grind is too fine, or you are over-dosing. Back off the grind coarseness before touching your tamp.
If you get channeling despite a level, firm tamp: your distribution before tamping might be the culprit. Grounds that sit in clumps or mounded unevenly before you press will keep those irregularities even after a perfect tamp. Consider a WDT tool or a simple needle stir — that is a separate technique, but it is often the missing partner to a good tamp.
The rule of thumb I give beginners: tamping is a consistency tool, not a flavor tool. It cannot make bad coffee taste good, but it can make good coffee taste bad. Fix the consistency first, and the flavor will follow.
The Practice Routine That Works
You do not need to pull a shot to practice tamping. Here is a two-minute drill that builds muscle memory fast:
- Fill your basket with coffee, level it with a finger.
- Tamp as described, without pulling a shot.
- Flip the basket over your palm, check the puck.
- Knock it out, refill, repeat five times.
Do this once a day for a week, and your tamp will become automatic. You will stop thinking about the mechanics and start feeling the levelness in your wrist. That is the goal — the tamp should disappear from your attention so you can focus on the shot.
The Summary That Matters
- Level beats strong. A flat 15-pound tamp outperforms a crooked 30-pound tamp on every measurable metric.
- Use body weight, not arm muscle. Your shoulder and torso are steadier than your bicep.
- Twist gently, not vigorously. A quarter turn with pressure held, nothing more.
- Flip the portafilter to verify your puck integrity. A clean disc means a clean extraction.
- Tamping is a consistency tool. Grind and dose control flavor; your tamp controls repeatability.
When you pull your next shot, do the flip test and tell me what your puck looks like — clean edge, cracks, or crumbles? Describe what you see and I can walk you through the specific fix for your puck’s condition.
Related guides: How to Use a Bottomless Portafilter: A Step-by-Step Guide for Beginners, How to Pull Espresso Shots on a Manual Lever Machine: A Beginner’s Step-by-Step Tutorial, and How to Pull Your First Espresso Shot: A Beginner’s Step-by-Step Tutorial.