A portable espresso setup and a travel coffee kit are not the same purchase, even though they get sold side by side. A travel coffee kit gets you a decent cup with minimal fuss and no real learning curve. A portable espresso setup asks you to carry more, learn more, and accept that extraction quality will move around as your counter, your water, and your altitude change. If you want café-style shots from a suitcase, you are shopping for the second thing, and it costs more in weight and attention than most gear lists admit.
This guide is organized around the claims people hear before buying, and what holds up when you are three time zones from home with a bag that is already too heavy.
Myth: “Portable” Means It Fits in a Carry-On
Reality: almost everything fits in a carry-on. Very little of it stays pleasant to carry for a month.
The honest measure is not packed dimensions on a spec sheet. It is the weight and volume you are willing to give up in a bag you also live out of. A hand grinder, a manual lever brewer, a scale, a tamper, a dosing cup, and a small pitcher occupy roughly the space of a folded sweater and weigh somewhere in the 1.5 to 3 kilogram range depending on what you choose. That is fine for a two-week trip with a checked bag. It gets old fast in a single 40-liter backpack.
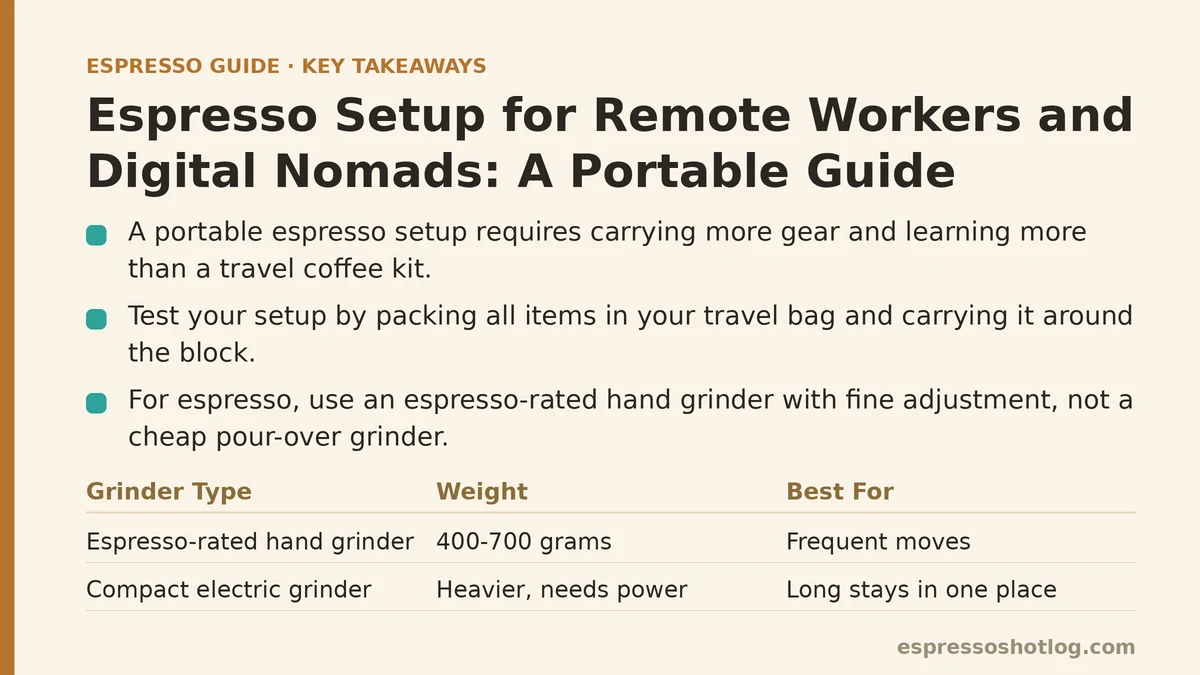
A workable test before you buy: put every item on a table, put it all in the bag you plan to travel with, and carry that bag around the block. If it feels like a burden now, it will feel worse after a red-eye.
The lightweight category worth knowing about: handheld, self-contained espresso makers that use a hand pump or compressed air and hold the coffee and water in one unit. They weigh a few hundred grams, need no external machine, and produce a shot in the 30 to 60 second range of effort. The tradeoff is dose size — most top out around 15 to 18 grams of coffee and a single shot’s worth of yield, and the pressure you generate by hand is less consistent than a pump.
Myth: Any Small Grinder Will Do
Reality: the grinder is where portable setups fall apart, and it is the item most people try to save weight on.
Espresso depends on fine, repeatable grind. A grinder that cannot make small, predictable adjustments will leave you chasing a moving target in a hotel room with no reference point. Hand grinders designed for espresso exist and are the standard answer for travelers, but they are not interchangeable with the cheap hand grinders sold for pour-over.
Two realistic paths:
- Espresso-rated hand grinder. Costs more than a budget electric grinder, weighs 400 to 700 grams, and takes 30 to 60 seconds of steady cranking for an 18-gram dose. The adjustment mechanism is the part that matters — look for stepped or stepless adjustment with fine increments, not a single coarse dial.
- Compact electric grinder. Heavier and needs power, but removes the physical effort. For remote workers who stay in one apartment for weeks at a time, this is often the better trade. For someone moving every four days, the hand grinder usually wins.
What does not work is pre-ground coffee in a non-pressurized basket. Supermarket espresso grind is almost always too coarse, and it stales within days of opening. If you cannot bring a grinder, plan to use a pressurized basket, which is designed to create artificial resistance and tolerates coarser, older coffee far better.
Myth: Water and Altitude Don’t Matter
Reality: they are the two variables travelers underestimate most.
Water. Espresso is roughly 90 percent water, and hardness changes extraction noticeably. Soft or heavily filtered water can make a shot taste thin and sour; very hard water can choke a puck and leave scale in your gear. If you are moving between cities with different tap water, the same beans and the same grinder setting can taste like two different drinks. A small bottle of a mineral-adjusted water additive, or a pack of test strips, is cheap insurance and weighs almost nothing.
Altitude. Hand-pump brewers and lever machines rely on your ability to build pressure. At high elevation, water boils at a lower temperature, and the reduced atmospheric pressure changes how a pump behaves. In practice, shots pulled above roughly 1,500 meters often run faster and taste more sour, and you may need to grind finer or accept a shorter ratio.
Temperature. Hotel kettles and shared kitchen kettles rarely hold a stable temperature. A small thermometer, or a brewer with a built-in temperature indicator, removes guesswork.
Myth: You Can Recreate Your Home Setup on the Road
Reality: you can recreate the ritual. The numbers will move.
Your home routine is tuned to one grinder, one basket, one water source, and one room. Travel replaces all four. A shot that hits 36 grams in 28 seconds at home may hit 36 grams in 22 seconds in a rental apartment with different water and a different grinder. That is not a failure — it is the expected cost of changing your environment.
What to hold constant: dose, ratio, and the order of your steps. Weigh beans before grinding. Tare your cup. Stop on yield, not on the clock. Keep the same tamping motion.
What to expect to change: grind setting, and sometimes the ratio. Give each new location two or three shots before you conclude anything is wrong.
Myth: More Gear Means More Consistency
Reality: for travel, fewer variables usually means more consistency, not less.
Every extra item is another thing that can break, get lost, or require a different adapter. A short, honest comparison of the three realistic approaches:
| Approach | Typical weight | Power needed | Dose flexibility | Best for | Main weakness |
|---|---|---|---|---|---|
| Hand-pump / handheld brewer | 300–700 g | None | Single to double, limited | Short trips, carry-on only, off-grid stays | Manual pressure is less consistent; small doses |
| Manual lever + espresso hand grinder | 1.5–2.5 kg | None | Full control over dose and ratio | Month-long stays, slow travel, one base | Effort per shot; longer dial-in |
| Compact electric machine + hand grinder | 3–6 kg | Yes | Full control | Remote workers with a fixed apartment | Weight and voltage; not truly portable |
A fourth option worth naming: a pressurized basket paired with pre-ground or a basic grinder. It is the lowest-friction path, produces a consistent drinkable shot, and asks almost nothing of you. The skills you build on it do not transfer to a standard basket, but for a traveler who wants one reliable cup before a call, that is a reasonable and honest choice.
Myth: Voltage Adapters Solve Everything
Reality: they solve the plug shape, not the power.
Small electric espresso machines and kettles are voltage-specific. A 110-volt machine plugged into a 220-volt supply through a cheap travel adapter will not run correctly and can be damaged. Proper step-up or step-down transformers are heavy and bulky enough to defeat the purpose of traveling light.
For anyone moving between regions, the practical answer is a setup with no mains power at all: hand grinder plus a manual brewer, with hot water from a kettle or a stove. That combination works in a hostel kitchen, a cabin, or a hotel room with a cheap immersion heater.
Myth: You Need the Full Kit on Day One
Reality: build the kit in stages and let your travel pattern decide what stays.
A sensible progression:
- Start with the brewer and a scale. Nothing else. Learn what your shots taste like with the water and coffee available where you are.
- Add the grinder once you know you will be somewhere long enough to dial in. A hand grinder is the highest-impact upgrade and the one that most changes what you can do.
- Add the small accessories last. A dosing cup, a compact tamper, a knock box alternative (a folded towel works), and a small pitcher. Skip distribution tools and puck screens until you can name the problem they solve.
If a piece of gear has not been used on two consecutive trips, leave it home next time. Travel kits improve by subtraction.
Sensory Checks That Travel Well
You cannot bring your home grinder’s reference setting, but you can bring your senses.
- Sound. A healthy extraction starts as a slow drip and settles into a steady stream. A fast, hissing start that stays pale usually means the grind is too coarse for this water and this coffee.
- Sight. Crema should be thick and caramel-colored early, thinning toward the end. Pale and thin from the first second is a sign the puck is offering too little resistance.
- Smell. Fresh, sweet, bready notes early in the shot; sharper, drier notes if it runs long. If the whole shot smells ashy, it over-extracted.
- Taste. Sour and thin means grind finer or shorten the ratio. Bitter and drying means grind coarser or lengthen it slightly. Sour and bitter at once usually means an uneven puck — check your tamp for level, and check whether your basket is underfilled.
Common Beginner Failures and Fixes
“My shots are watery no matter what I do.” Check your ratio first. A 1:2 ratio is a starting point, not a rule. If the coffee is a light roast, try 1:1.75 and see whether the flavor concentrates.
“My hand grinder takes forever.” Light roasts are harder to grind than dark ones. If a dose is taking more than about 90 seconds, the grinder is likely not espresso-rated, or the beans are unusually dense.
“My puck comes out sludgy.” Often an underfilled basket or a grind that is too coarse, not a tamping problem. Change one variable at a time and pull a shot after each change.
“I broke my brewer’s seal.” Hand brewers need their gaskets cleaned and occasionally replaced. Carry a spare seal if the trip is long. A dry, cracked gasket is the most common reason a handheld brewer stops building pressure.
“Everything tastes different in this city.” Almost always water. Try bottled water with a known mineral profile, or a mineral additive, before you touch the grinder.
A Short Packing Checklist
- Brewer (handheld, manual lever, or compact electric)
- Espresso-rated grinder, or a pressurized basket if you are skipping the grinder
- Digital scale reading to 0.1 g
- Tamper matched to basket diameter
- Small cup or shot glass that fits your brewer’s clearance
- Fresh beans, roasted within the last two to four weeks, in a sealed bag
- Water additive or test strips
- Spare gasket and a small cleaning cloth
- A folded towel as a knock surface
Weigh the whole bag before you leave. If it is heavier than you expected, remove the item you are least sure you will use — usually the accessories, rarely the grinder.
Which part of your travel setup is giving you the most trouble — the weight, the grinder, or the water where you are staying? Describe what you are working with and what the shots are tasting like, and it is easier to point at the one variable worth changing first.
Related guides: How to Pull Your First Espresso Shot: A Beginner’s Step-by-Step Tutorial, Espresso Tamping Technique: Step-by-Step Guide for Beginners, and Espresso Troubleshooting Flowchart: Diagnosing Shots by Taste and Time.